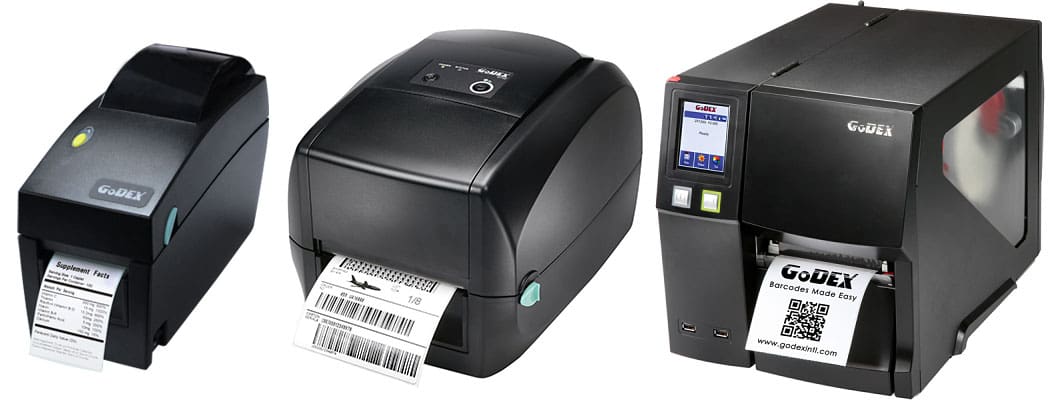
This step-by-step process will help guide you through the process of either swapping label sizes or media types such as gap or black mark. The images are based on the Godex DT4x but the process is the very similar on all models. Refer to the specific user guide for your printer should you get stuck.
- Remove old media or empty media core by pressing the green release buttons to open the lid of the printer.
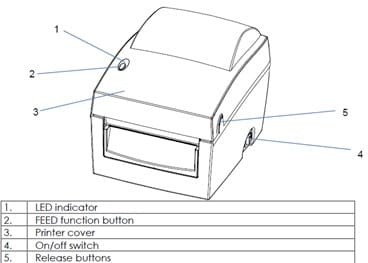
2. Familiarise yourself with the components of your printer.
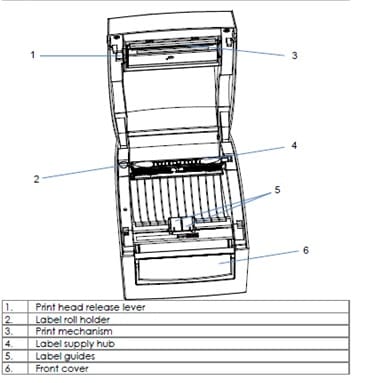
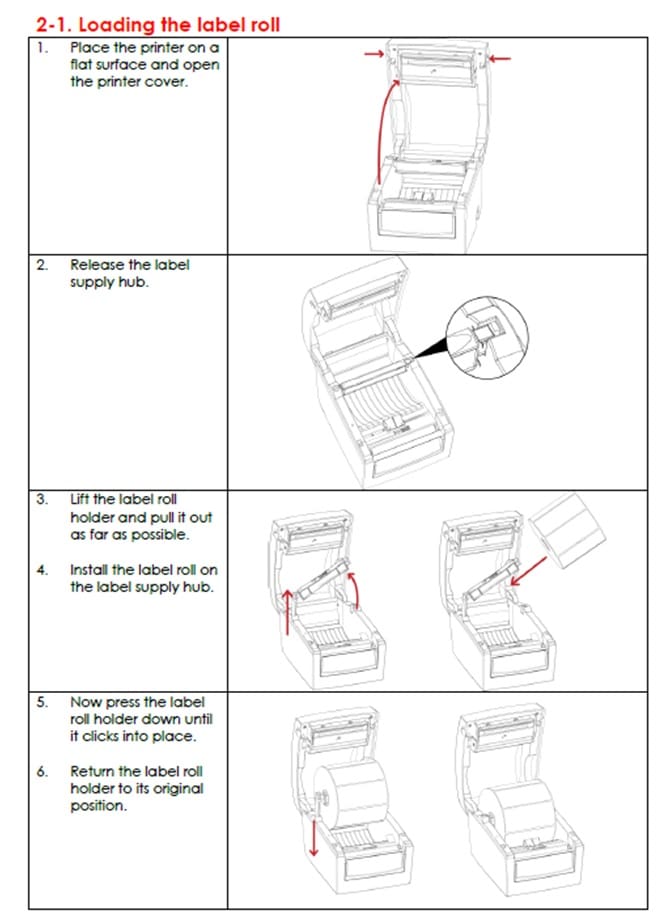
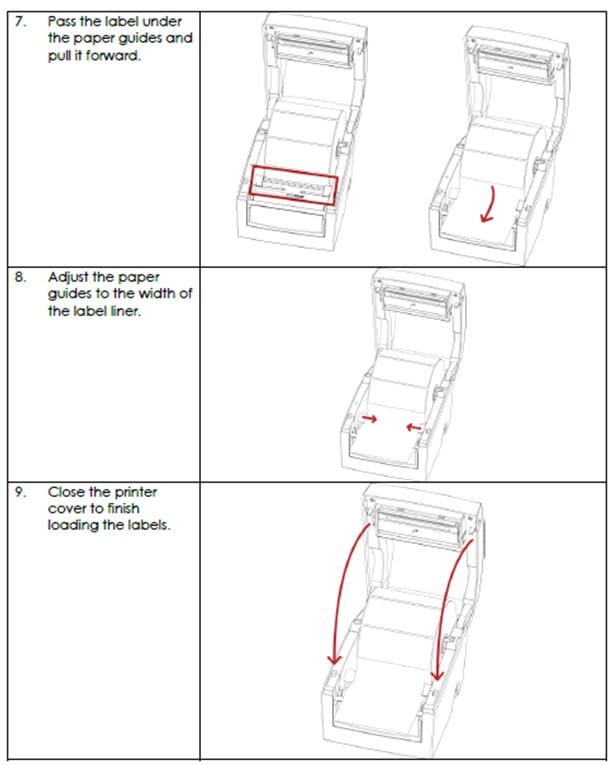
3. Load new label stock.
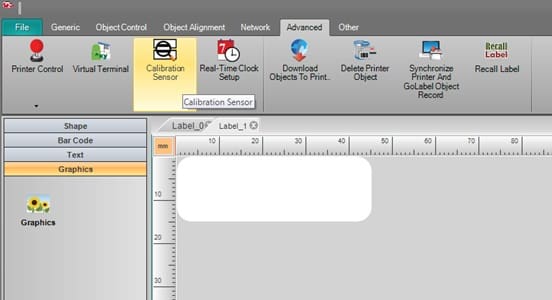
4. Calibrate the label – This can be done two ways depending on your printer type, however both will work with the below method. Under the advanced tab in Golabel click calibrate sensor. The printer will now start feeding labels so it can automatically detect the media type gap/black mark. Alternatively, you can press the auto calibrate button on the rear of the printer if your model supports it. The lower end models such as the DT range don’t have this button.
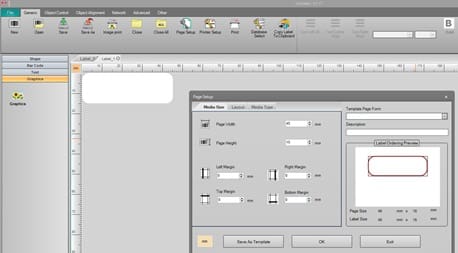
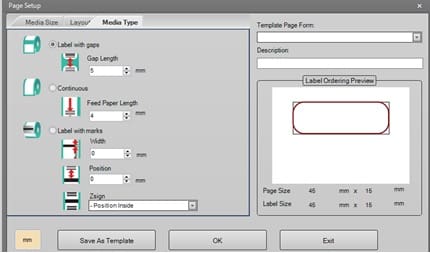
5. Once it has finished you can then make any adjustments to the page setup in Golabel. Your page setup (label size) needs to match the label stock size or you will get errors and miss printing. This can be done under the generic tab then select page set up. Adjust your page height and width accordingly, then go to the media type tab on the same window and select the media type you have and adjust the gap length if required.
6. You can now design your label and do a test print ensuring that on the printer set up tab, the correct printer is selected in this instance a DT4x, then make any adjustments you require such as speed or darkness depending on your media/ribbon type.


For any further help loading or swapping material into your Godex Label Printer please feel free to get in touch with our support team using the link below.
Thank you
HD Labels Support
Check our our range of GoDEX Thermal Label Printers


