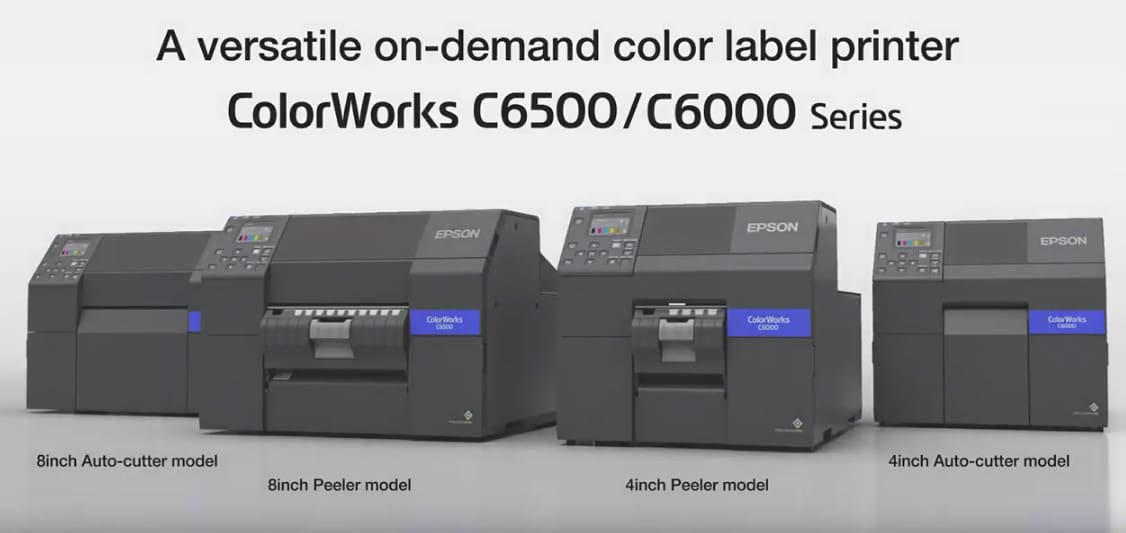
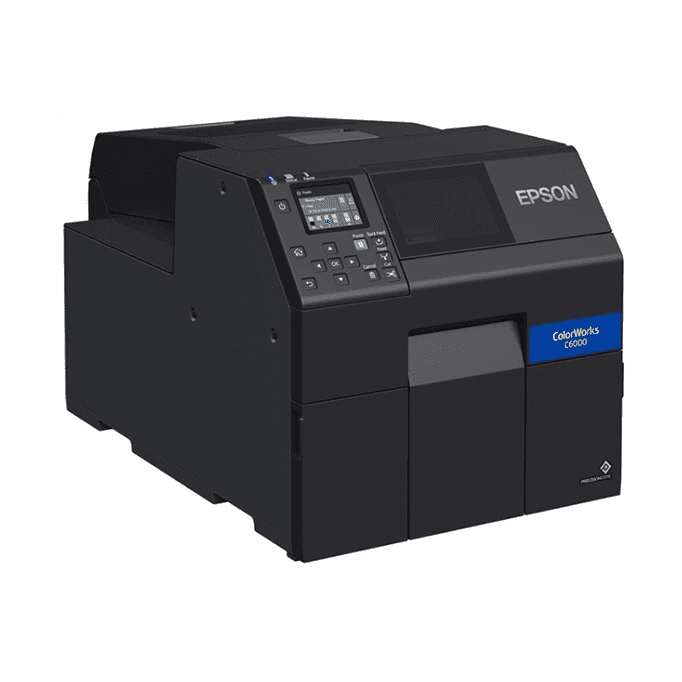
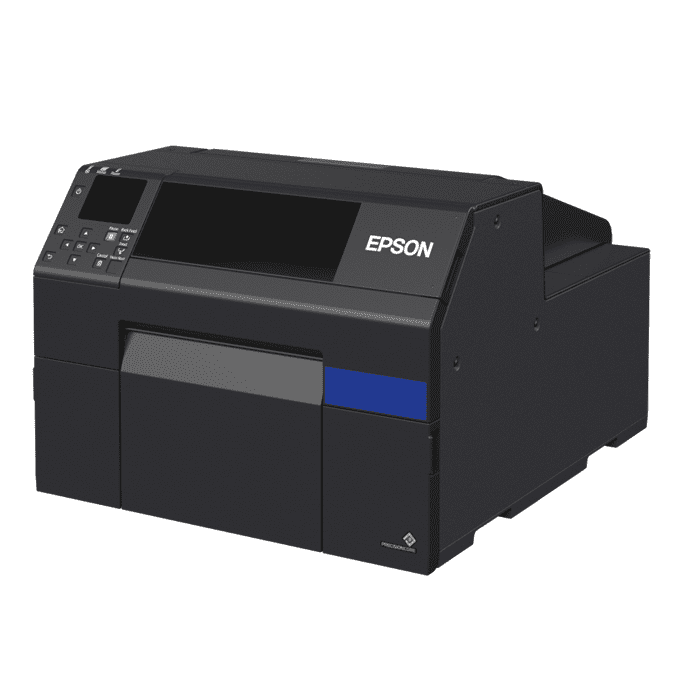
How to Set up and use the Spot Colour settings on the EPSON C6000Ae and C6500Ae Series Label Printers.
- NB: This Guide is intended for use in conjunction with Adobe Illustrator. If you are using an alternate design software, you can still use the guide, but some instructions may differ depending on your choice of software.
- NB: The spot colour setting will NOT work if the colour you are trying to adjust is a gradient.
Step 1: Identify the colour to match
- Open the source image in Adobe Illustrator.
- Use the colour picker tool to determine the RGB values for the colour or colours you want to adjust.
- Lets say as an example, the colour I want to adjust has the following RGB values:
R: 239, G: 228, B: 176
- Lets say as an example, the colour I want to adjust has the following RGB values:
Step 2: Use the Color Tone Matching Assistant
Download and install the Color Tone Matching Assistant.
If you already have the Color Tone Matching Assistant installed, go to step B.
Go to the following link to download the colour tone matching assistant.
Download Color Tone Assistant
Or scan the following QR Code:

Once downloaded extract and run the install following the onscreen prompts.
- Launch Color Tone Matching Assistant.
- Enter the RGB values you acquired in step 1.B in the corresponding fields.
- Input the step range figure.
- The step range figure determines the amount each value in CMY will change per swatch.
- Setting the step to between 10 and 20 is recommended. The higher the step range, the bigger the difference between colour swatches.
- The other values such as label size media type and quality are taken from your printer driver.
- Because of this, it is very important to ensure that the settings in your printer driver are set the same when using the Color Tone Matching Assistant, as when you are printing your labels, otherwise you will not get the same results.
- The panel on the right shows you a preview of the colour swatch that will be printed once you press ‘Print’
- Press Print.
- Once printed select the swatch that matches your target colour and record the RGB value.
- Each swatch will vary by the step you set previously and will have its RGB value underneath it
- If a swatch is a close match but not exact, you can produce a new set of swatches using that RGB value and a smaller step range to give you closer swatches to choose from.
Step 3: Create a new Spot Colour Setting
- Go to Control Panel → Devices and Printers.
- Open the Printing Preferences for your Epson, then go to the Printer Utilities tab and click Printer Setting Utility
- Select Store data in the printer.
- Under the Spot Colour Setting section, click Create.
- Input the original RGB values from step 1.B on the left and the target RGB values (from the swatch you have chosen in step 2.H) on the right.
- Click Add. You can have multiple spot colour changes in each spot colour setting you create. For example, you may need to change a green colour and a purple colour in one file, so these can both be achieved within the same Spot Colour Setting. Then click Confirmation.
- Name and save the setting when prompted.
- You can also change or delete previously made Spot Colour Settings by clicking the Edit/Delete button
- Now you can close the printer setting utility and printing preferences windows.
Step 4: Print using the custom spot colour
- Open the document you wish to print.
- Go to Printer Properties → General.
- Click Media Definition.
- Find and select the label setup you wish to use the Spot Colour Setting with and click Edit
- Under Spot Colour Setting, choose your previously saved spot colour file.
- If it’s not listed, click Update Spot Colour List to reload.
- Click Okay then Okay again if prompted to overwrite the settings. Close the list of label setups and make sure the correct one has been selected from the dropdown list.
- Print your document using the selected spot colour file.
Step 5: Verify the match
- Review the printout. If the colour isn’t spot-on, repeat Step 2 by picking a different sample from the assistant and updating your Spot Colour Setting.
For more help with your Epson C6000 or C6500, please feel free to talk to the Tech Team at HD Labels and we can guide you.
Alternatively, check out the video tutorial below on using spot colours with the Epson C6000e Series if you need further guidance.


